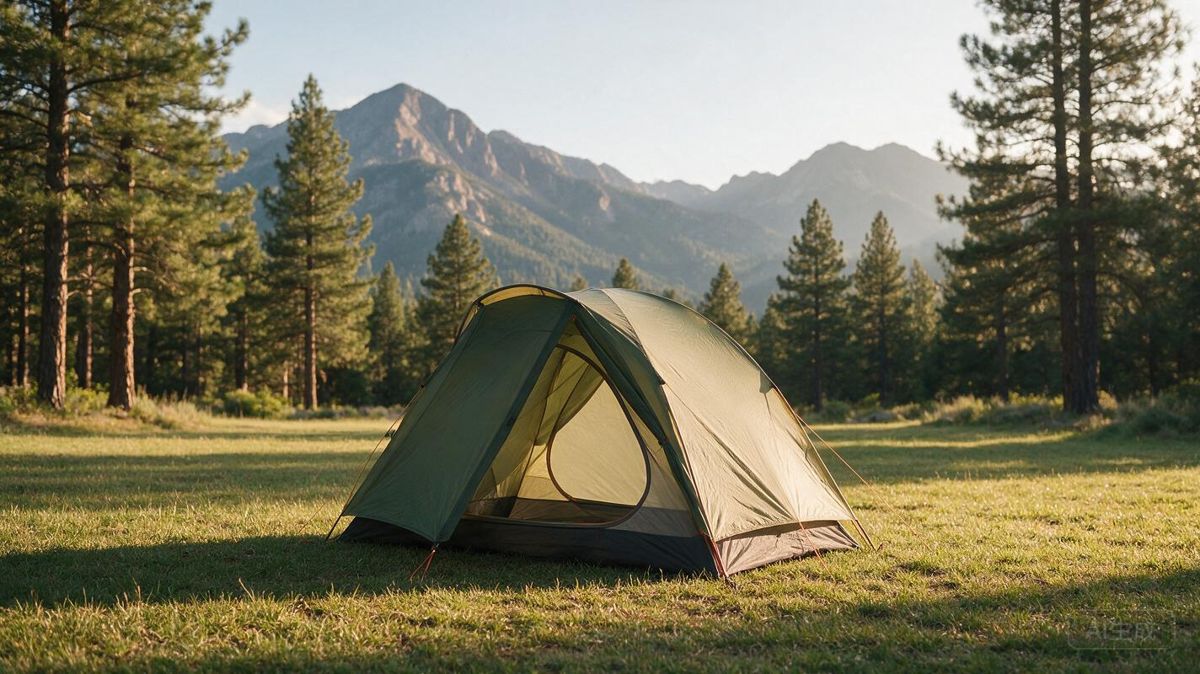
Introduction: Finding the Best Budget Backpacking Tent Under 200
Backpacking does not have to start with a high-end shelter. For beginner and casual backpackers — people heading out for a weekend in mild to moderate conditions a few times a season — a tent priced under $200 can be a reasonable, functional choice. This guide is meant to help you understand what that price range actually buys, where the compromises tend to appear, and how to choose a model that suits the trips you really take rather than the expeditions you imagine taking someday.
Realistic expectations matter. Tents in this bracket are generally heavier and bulkier than premium options, because manufacturers use more affordable fabrics, simpler pole structures, and fewer of the finishing details found on higher-end models. You may also see fewer doors, smaller vestibules, and less ventilation. Those are not dealbreakers for most casual use, but they matter in strong wind, sustained rain, or longer trips where every ounce counts. What you give up in refinement, you often gain in savings that can go toward a better sleeping bag, pad, or pack — gear that can affect your comfort just as much.
This guide covers the features that actually matter when comparing budget tents: packed weight and size, floor dimensions, headroom, pole design, ease of setup, ventilation, and weather resistance. It also breaks the under-$200 market into price tiers so you can see where the meaningful jumps in quality tend to occur, and it takes a closer look at the Naturehike Cloud Up as a reference point for what a budget tent can offer.
Budget Backpacking Tent Under 100 vs. Under 200 vs. Under 300
When you compare backpacking tents by price band, the differences usually show up in four areas: materials, weight, packed size, and long-term durability. Tents under $100 sit at the entry level. They tend to use heavier fabrics and pole materials, such as fiberglass or basic aluminum, and simpler coatings and seam treatments. That construction can keep the price low, but it often means a larger packed size and more weight in your pack. Durability may be fine for occasional weekend trips, but these tents may wear faster under frequent use, strong UV exposure, or abrasive ground. Hardware like zippers, stakes, and guy lines is often functional rather than refined.
Move into the under $200 range, and you generally see a more deliberate balance. Manufacturers can spend more on lighter fabrics, aluminum poles, better waterproof coatings, and taped or sealed seams. The result is often a tent that packs smaller, weighs less, and handles rain and wind with more confidence than the cheapest options. It may still use some heavier components to keep costs down, and it may not match premium backpacking tents for weight or packability, but for many beginners and casual backpackers this is the sweet spot where cost, weight, and durability meet.
Under $300, tents start to resemble dedicated lightweight gear. You are more likely to find thinner high-tenacity fabrics, more precise pole systems, refined ventilation, and construction details that reduce weight without giving up too much strength. Packed size often shrinks further, and durability may improve because better materials and better design work together. That does not mean every under-$300 tent is automatically better. A well-designed under-$200 tent can outperform a poorly designed under-$300 model for casual trips. Price is a useful guide, but materials, shape, and intended use matter just as much.
Must-Have Features in a Budget Backpacking Tent Under 200
Capacity is the first specification to settle, because a tent that is too small for your group will be uncomfortable no matter how light or inexpensive it is. Manufacturers rate tents by the number of sleeping pads they can fit side by side, so a two-person tent is often a snug fit for two adults plus gear. Many solo backpackers choose a two-person model for that extra room, while couples may prefer a three-person tent if they want space for packs inside. Season rating matters just as much: for three-season backpacking, you want a tent designed for rain, wind, and insects rather than snow load. A true four-season tent is heavier, less ventilated, and rarely available at a budget price, so a three-season design is the practical target for most trips outside of deep winter.
Next, examine how the tent is built and how much livable space it provides. Freestanding tents hold their shape with poles alone and can be moved after pitching, which helps on rocky ground or tent platforms where stakes are hard to set. Trekking-pole tents save weight and cost by using your hiking poles as the main structure, but they depend on staking points and take practice to pitch. Single-wall tents are lighter and simpler, but they can suffer from condensation inside the sleeping area. Double-wall tents add a separate rainfly or inner canopy that manages condensation better and usually offers more weather protection, which is often worth the extra weight on a budget tent. Vestibule space is where you store wet packs, boots, and muddy gear; a small vestibule keeps the sleeping area cleaner but can feel cramped. Peak height determines whether you can sit up to change clothes or wait out a storm comfortably, and budget tents often have lower peaks than premium models.
Finally, packed weight and ease of setup shape the daily experience. Sub-$200 tents generally weigh more than high-end ultralight shelters, so if you are splitting the load with a partner, check the packed weight of the whole package, not just the minimum trail weight. Setup should be simple enough to manage in wind or rain: color-coded poles, clips, and a straightforward fly attachment help. When prioritizing for three-season backpacking, start with capacity and season rating, then choose freestanding or trekking-pole based on your terrain, then weigh double-wall construction against weight savings. Vestibule size and peak height come next, and packed weight and setup ease are the final filters. A slightly heavier tent that keeps you dry and comfortable is usually a better budget choice than a fragile shelter that saves a few ounces.
Where the Naturehike Cloud Up Fits in the Budget Conversation
The Naturehike Cloud Up is one of the names that comes up repeatedly when backpackers talk about tents that undercut the better-known brands, so it deserves a place in this conversation. Its broad design intent is a lightweight, freestanding double-wall shelter aimed at three-season use on a budget. That combination matters because freestanding double-wall tents have traditionally been a mid-tier or premium category, while budget options have often meant single-wall trekking-pole shelters or heavier dome tents. The Cloud Up line, as generally described in buyer discussions, tries to bridge that gap by pairing a mesh inner with a separate rainfly and a pole-supported structure. It has been sold in several numbered versions and updated over time, and buyers commonly compare it against entry-level tents from larger brands.
That version history is exactly why you should not treat any single weight figure or spec sheet as universal.
If you are considering a Cloud Up, verify the specific details of the listing or product page before you buy:
- Which generation or version is being sold
- The stated packed weight and trail weight, and whether those figures include stakes, guylines, and the footprint
- Inner tent dimensions, peak height, and floor area for the size you want
- Whether the model is a one-person or multi-person configuration
- Included accessories and the current price after any discounts
Listings for this line have appeared under more than one name and with specs that change between revisions, so the safest approach is to read the current manufacturer description rather than relying on an older review or forum post. Review dates matter too, since a walkthrough from several years ago may describe a version no longer sold. Treat the Cloud Up as a candidate worth investigating, not a guaranteed answer, and let verified weight and dimensions decide whether it suits your trip style.
Trade-Offs and Durability Expectations for Cheap Backpacking Tents
Cheap backpacking tents tend to save money in ways you can see and feel, but the consequences usually show up over seasons rather than on the first trip. Fabric is a common compromise: budget models may use a heavier denier polyester or nylon, which adds ounces and packed bulk compared with premium fabrics, or they may use lighter fabrics with less expensive coatings. Coatings are what make a tent waterproof, and they do not last forever. Polyurethane coatings can degrade over time through exposure to UV light, heat, moisture, and long-term storage in a stuff sack, a process sometimes called hydrolysis. Silicone-treated fabrics may feel slicker and can require user-applied seam sealing, while factory-taped seams save effort but may still need attention as the tent ages.
Ventilation is another area where low-cost designs cut corners. Fewer vents, solid inner walls, and a fly that sits close to the inner tent can trap warm, moist air, leading to condensation on cool nights. That is not a defect so much as a design trade-off; a tent with more mesh and adjustable high and low vents will manage moisture better but may feel draftier and offer less warmth. Zippers and hardware also reflect price. Budget tents may use smaller-gauge zippers, fewer storm flaps, or plastic hardware that can snag or wear with rough handling. Stakes, guy lines, and pole sections may be serviceable rather than refined. None of these details guarantee early failure, but they do mean the tent rewards careful use.
Warranty support varies by brand and is rarely a substitute for durability. Some budget brands offer limited warranties that cover manufacturing defects for a set period but exclude normal wear, UV damage, and seam leakage; shipping costs and proof of purchase may be required. Before buying, read the specific policy rather than assuming. Care makes a larger difference than price alone: pitch the tent taut but not overstretched, use a footprint or clear ground, avoid storing it wet or in a hot car, clean with mild soap and water, and let it dry fully before packing. Inspect seams and coated surfaces periodically. If seams leak, apply a seam sealant recommended by the manufacturer, following its instructions and allowing proper cure time. Taped seams generally should not be sealed unless the tape is failing. With reasonable expectations and maintenance, a sub-$200 tent can serve casual three-season trips well, even if it will not match a premium tent’s lifespan under heavy use.
How to Shop Smart for a Budget Backpacking Tent Under 200
Before you commit to any specific model, read the return policy carefully. Some retailers accept returns only for unused tents in original packaging, which means pitching it in your yard could void your ability to send it back. Check for restocking fees, return shipping costs, and whether the manufacturer handles warranty claims directly. Once you find a candidate, dig into owner reviews with a focus on condensation and weather resistance. A single complaint about a damp interior may reflect user error, such as inadequate venting or pitching on low ground. But if dozens of reviewers describe waking up wet in cool, humid conditions, that pattern points to a design limitation. Look for repeated reports about rain leakage, wind stability, and whether the rainfly adequately covers the tent body.
Next, measure the interior space against your actual sleep system. Compare your sleeping pad and bag dimensions to the tent’s listed floor size, remembering that tapered floors offer less usable width at the foot end. If you want to sit up to dress or read, note the peak height rather than just the floor area. Packed size matters just as much as weight. A tent that rolls into a long, narrow cylinder may not fit horizontally inside a smaller pack, forcing you to strap it outside where it can snag brush. Check whether the poles can be carried separately from the body and whether the stuff sack compresses. Compare the packed volume to your pack’s total capacity, not just its weight rating.
Timing and source can stretch your budget further. Sub-$200 tents frequently go on sale during off-season months, when new models replace older versions, and during major retail events. If your trip is not imminent, set a price alert or check back periodically. Used gear is another option: a well-cared-for tent from a reputable brand may outlast a new cheap one. Inspect used tents for mildew odor, peeling seam tape, bent or splintered poles, missing stakes, and faded or brittle fabric from UV exposure. Ask how the tent was stored and roughly how many nights it was used. Ultimately, price alone does not equal value. Factor in durability, warranty support, and whether replacement parts like poles or stakes are available, because a slightly higher upfront cost can prove cheaper over several seasons of use.
Conclusion: Matching Your Budget to Your Backpacking Style
When you set a ceiling of two hundred dollars, the best backpacking tent for you is the one that matches the trips you actually take, not the one that wins abstract comparisons. A solo hiker who mostly does overnighters in mild, sheltered forests can prioritize low weight and a small packed size, because the tent will spend more time on their back than in a storm. A pair sharing a tent on exposed ridges or in wet, humid climates may need more interior space, better ventilation, and a more robust fly, even if that means a few extra ounces. Carry comfort matters as much as the number on the scale: a tent that fits your torso length, allows you to sit up, and keeps your pack dry in the vestibule will feel lighter at the end of a long day than a technically lighter model that forces you into a cramped, damp sleep.
Prioritize fit and features over hype. Marketing language around “ultralight” or “four-season” can distract from the basics: does the tent fit your sleeping pad and bag, can you pitch it in wind and rain, and will the materials hold up to the number of nights you camp each year? If a budget model gets those fundamentals right, it can serve you well for many seasons. If it does not, no discount makes it a good purchase. Use the feature checklist from earlier in this guide—capacity, wall construction, freestanding or trekking-pole design, vestibule size, peak height, packed weight, and setup ease—as a filter, not a scorecard. A tent that is merely adequate on paper but perfect for your style beats a tent that is impressive on paper but wrong for your trips.
Before you buy any specific model, verify the current specifications. This applies to well-known budget options such as the Naturehike Cloud Up, which has been revised and re-released in different configurations over the years. Manufacturers change materials and dimensions without renaming a tent, and retailer listings can lag behind. Check the floor dimensions and peak height against your own measurements, confirm the packed weight includes stakes and guylines, and read recent owner reports about condensation, durability, and customer service. A tent is a long-term purchase, so a few minutes of verification is worth more than a flashy product page. Choose the tent that fits your backpacking style, and your budget will go further than you expect.