Introduction: What “how much does a backpacking setup cost for beginners” really depends on
There is no single, universal price for getting into backpacking as a beginner. Any figure that claims to represent “the” cost of a starter setup is really describing one specific set of choices: one climate, one trip length, one shopping style, and one assumption about what the buyer already owns. Published totals can also age poorly, since gear prices shift with seasons, sales, currency, and supply, and because many roundups describe experienced hikers replacing worn-out items rather than beginners starting from nothing. That is why this article does not hand you one number to budget against. Instead, it walks through the variables that actually move a beginner’s total, so you can build an estimate that fits your own situation.
The main variables that shape a beginner’s overall cost are:
- What you already own. Hiking boots, rain shells, base layers, and a warm layer are often already in a closet, which removes whole categories from your shopping list.
- The core categories almost everyone has to buy: a pack, a shelter, a sleep system, and smaller essentials such as water treatment, a stove or cooking setup, and a basic first-aid kit.
- Where and when you plan to hike. A warm-weather weekend trip needs different gear than cold, wet, or high-altitude conditions.
- How long your trips are and how far you walk, which affects how much capacity and how light the gear needs to be.
- Whether you buy new, buy used, borrow, or rent for a first trip or two.
- How much you care about weight and durability, since lighter and longer-lasting options generally sit at different points on the price range than heavier or more basic ones.
The practical approach is to estimate category by category rather than starting from a headline total. Separate one-time purchases, such as a pack or shelter, from consumables and small recurring items, and decide early which pieces you are willing to borrow or buy used. A leaner first setup is not a lesser one; it is simply a starting point you can upgrade as you learn what you actually want.
What a beginner backpacking setup actually includes
A beginner backpacking setup is less a single purchase than a small collection of systems that have to work together. Each category solves a specific problem on an overnight trip, and the categories interact: a bulkier sleeping bag demands a larger pack, a heavier pack demands sturdier footwear, and so on. Thinking in categories rather than in products makes it easier to see where your money is actually going and where you can reasonably cut back.
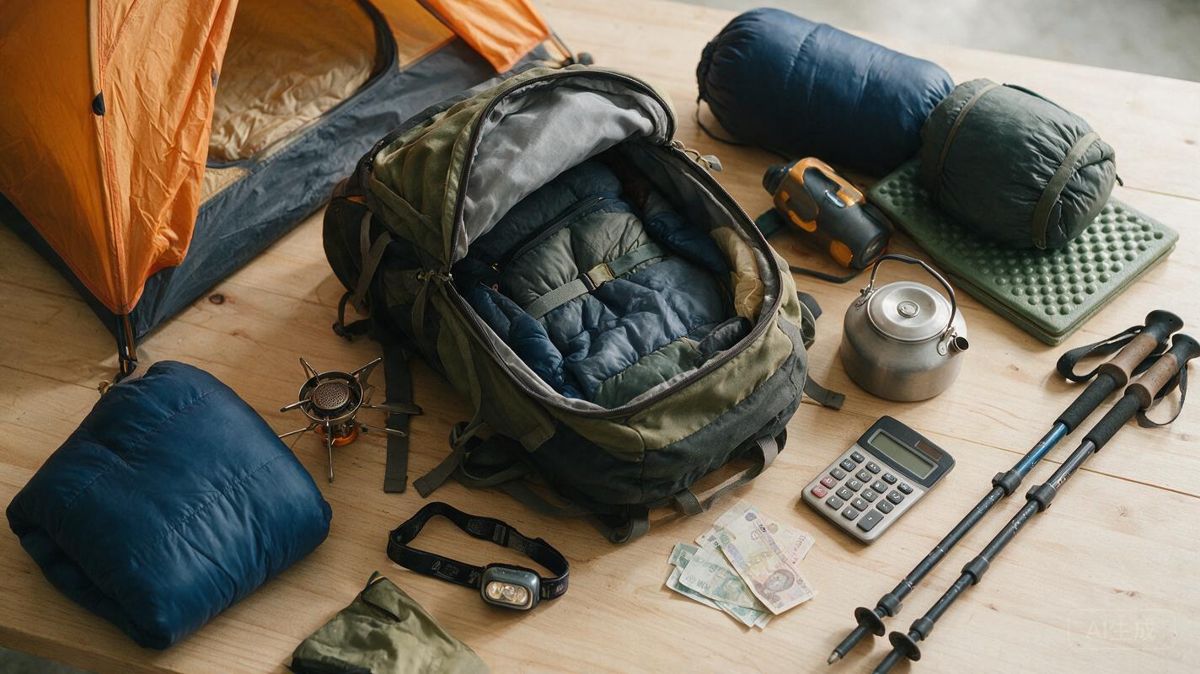
The items most beginners genuinely need fall into a handful of groups. Shelter — typically a tent, tarp, or hammock system — keeps weather and insects off you. The sleep system pairs an insulated sleeping pad with a bag or quilt rated for the coldest conditions you expect to meet; the pad matters as much as the bag, because it separates you from cold ground. The backpack itself carries everything, and it is usually wisest to choose it last, once the rest of the kit is settled, so the capacity and suspension match the real load. Footwear, whether trail runners or hiking boots, should be comfortable and well broken in before a trip. Clothing works as a layered system — a moisture-wicking base layer, an insulating midlayer, and a rain shell — rather than one do-everything jacket. Water treatment, whether a filter, chemical drops, or boiling, is essential anywhere you plan to drink from backcountry sources. Navigation means a map and compass, or a phone or GPS unit with offline maps downloaded in advance. Lighting means a headlamp with spare batteries. A basic safety kit rounds things out: first aid supplies, repair tape, an emergency shelter, a whistle, and sun protection.
Beyond those core categories sit optional comfort items — a camp pillow, a lightweight chair, camp shoes, a coffee setup, or a roomier tent than strictly necessary. These are legitimate purchases, but they are the right place to delay spending until you know what you actually miss. Consumables such as food, fuel, and treatment supplies also recur rather than being bought once, which is why a first-year total tends to run higher than later ones. Finally, several big-ticket items can often be borrowed or rented for a first trip, which lets you test preferences before committing.
The main factors that drive backpacking gear cost for beginners
The single largest swing factor in backpacking gear cost for beginners is where the gear comes from. Buying everything new at full retail sits at one end of the spectrum; borrowing from a friend, renting from an outdoor program or shop, buying secondhand through gear swaps and consignment, or shopping end-of-season clearance sits at the other. These routes are not just cheaper, they also let a new backpacker learn what actually fits before committing. A used shelter or pack in good condition can perform much like a new one, while a borrowed setup costs nothing but leaves the buyer dependent on someone else’s schedule and sizing. Many beginners end up with a hybrid: borrowed or rented big-ticket items for the first season, and new purchases for the smaller personal items that are harder to share.
Intended conditions change the shopping list, and therefore the total. A three-season kit suited to mild summer weekends in low, forested terrain is the least expensive version of backpacking, because it relies on lighter insulation, simpler shelters, and less specialized footwear. Extending into winter, high alpine terrain, or wet, cold, and windy climates pushes toward heavier insulation, more weatherproof shells, larger packs, and additional traction or snow tools — categories a summer-only kit never touches. Local terrain matters in subtler ways too: humid environments place a premium on breathable fabrics that dry quickly, arid environments reward water capacity, and regions with wildlife food-storage rules may require a bear-resistant container that adds both cost and weight.
Materials and construction grade separate budget gear from ultralight gear. Ultralight versions of the same item often use more expensive fabrics, higher-quality insulation, and lighter hardware, and the price climbs quickly. Budget alternatives are usually heavier, bulkier, and sometimes less durable, though not automatically worse for a beginner who is still learning preferences. Brand tier plays a similar role: mass-market outdoor brands, small cottage makers, and discount or generic labels each occupy a different price band, with differences showing up in warranty support, repairability, and how long replacement parts stay available.
Trip frequency decides whether any of this is worth optimizing. Someone planning one or two trips a year is usually better served by borrowing or renting the expensive categories and buying only the essentials. Someone planning regular weekend trips will get more value from spending up front on durable, well-fitting core items, since the cost spreads across many nights out. Diminishing returns set in at the top of the market: past a certain point, additional spending buys marginal weight savings rather than a meaningfully better experience.
How to think about budget tiers without chasing exact prices
Thinking in tiers is more useful than memorizing a number, because the tier tells you what you are trading away. A lean, entry-level approach generally accepts more weight, bulkier packed size, fewer fit adjustments, and materials that wear out sooner in exchange for the lowest outlay. That is not a bad choice for someone testing whether they enjoy sleeping outdoors at all, or for a trip or two per season in mild conditions. The honest trade-off is that some of it will likely be replaced if you keep going, so the cheapest kit is not automatically the cheapest path over several years.
A mid-range approach is where many beginners land once they know they will keep at it. You tend to get lighter fabrics that still hold up, better suspension and hip-belt geometry in a pack, more reliable waterproofing, and small design details — usable pockets, adjustable ventilation, easier pitching — that reduce daily friction. Premium gear buys further weight reduction, longer service life, and refinement: hardware that does not snag, seams and coatings built for repeated use, and comfort that matters most on long days or in poor weather. The returns shrink as the price rises, and someone backpacking a few weekends a year may never notice the difference that a frequent long-distance hiker would.
Three cautions apply to any tier. First, tiers overlap — a discounted mid-range item can cost less than a full-price entry-level one, so compare categories rather than assuming one brand or one tier is always cheaper. Second, prices move with season, region, currency, and stock, so treat any figure you read — including in this article — as a starting point and check current retailer and resale listings before you commit. Third, weight, durability, comfort, and convenience trade against each other constantly; decide which two matter most for your trips, then let that priority guide which tier you shop in rather than the other way around.
Is 1000 dollars enough for backpacking gear?
Is $1,000 enough for backpacking gear? The number itself decides almost nothing — the gear list behind it does. For one beginner, that budget can cover a full three-season weekend kit with room to spare. For another, it may not get past the shelter, pack, and sleep system, depending on what they choose and where they shop. What separates those two situations usually isn’t luck with sales. It’s the starting position each person brings: what they already own, what they can borrow, rent, or buy used, which trips they actually plan to take, and how much they value low weight, packability, and recognized brand names.
That’s why a flat yes-or-no answer misleads. A budget can only be tested against a specific list, and the same list can be priced at very different totals depending on source and tier. A workable framework looks like this:
- Write out everything you’d need for the trip you’re actually planning, then cross off anything you already own or can borrow for a first season.
- Split the remainder into must-haves for your conditions and optional comfort items.
- Check current listings at retailers and resale sites for each item, and note the spread between entry, mid-range, and premium options rather than one price.
- Add your remaining must-haves and compare the subtotal to your budget.
- If it exceeds the budget, change the source — used, borrowed, rented, or a lower tier — before you change the trip.
Two factors often decide the outcome. Rentals and borrowing let you test a category before committing money to it, and a first overnight close to home reveals what you genuinely needed. Many beginners also find that the budget grows over subsequent seasons, once they know which categories matter most to them personally.
Where to save, where not to skimp, and smart beginner strategies
The single biggest lever on a beginner’s total spend is not which brand they buy but whether they buy at all yet. Borrowing or renting shelter, a pack, and a sleeping bag for a first season lets a new backpacker learn what actually fits before committing money to it, and many outdoor retailers and university rec programs rent these items by the trip. Buying used is the natural next step: shelters, packs, and cookware hold up well through resale, and the main things to inspect are fabric delamination, zipper and buckle function, seam integrity, and whether replacement parts are still available. Sleeping bags are the exception worth thinking about carefully — a used bag’s insulation may have lost loft, so it is often a better candidate for borrowing or buying new.
If a beginner spends generously anywhere, footwear and sleep insulation are the two places where the payoff shows up on every trip. Boots or trail runners that fit properly prevent the blisters and hot spots that end trips early, and footwear is difficult to buy used because it molds to the previous owner’s foot. Underneath the sleeper, a pad’s insulation value matters as much as the bag, since heat lost into cold ground is a common reason first nights go badly. Neither purchase is a place to chase the cheapest option.
Timing purchases around end-of-season clearance and off-season sales is a legitimate way to stretch a budget, and discontinued colorways are frequently discounted for reasons that have nothing to do with performance. Buying a full kit at once is usually a mistake — gear lists tend to shrink after the first few trips, and money spent on gadgets like integrated electronics, multi-tool everything-devices, or specialized camp furniture is often money a beginner would rather have spent on the core categories. Testing borrowed, rented, or secondhand gear on short overnight trips before a bigger purchase reveals which items genuinely earn their place in the pack and which were bought out of enthusiasm.
Finally, treat gear as replaceable rather than permanent. Resale markets mean an item that does not work out can often be sold to fund the right one, which lowers the real cost of experimenting. A beginner who rents or borrows first, buys used where it makes sense, and upgrades deliberately over a season or two usually ends up with a better-fitting kit than one who tries to buy everything correctly on the first attempt.
Conclusion: Turning a variable backpacking setup cost into a workable plan
The honest answer to how much a backpacking setup costs for beginners is that it lands wherever your specific choices put it. Two people packing for the same trail on the same weekend can finish with very different totals, because one buys new shell layers while the other borrows a pack and finds a used quilt. Prices also move: retailers rotate sales, brands revise lineups, and the resale market shifts with the season, so any single figure quoted in an article — this one included — is a snapshot rather than a rule you have to match.
That is why the more useful exercise is building your own live price list instead of hunting for a definitive number. Set up a simple list with a row for each category you actually need, then fill it in from current listings at real retailers and from resale and rental sources. Mark items you can borrow at zero, and treat consumables like fuel and water treatment as recurring costs rather than one-time purchases. Recheck the list a few weeks later; you will often find that waiting for a seasonal sale or a used listing changes the total more than switching brands ever would.
As you finalize that list, weigh each line by what it does for you on trail. Footwear that fits and sleep insulation that keeps you warm matter far more than matching a particular budget target, and a cheaper kit that leaves you cold, wet, or blistered is not a saving. Spend where safety and comfort depend on it, economize where they do not, and let your first few short trips tell you what to upgrade next.